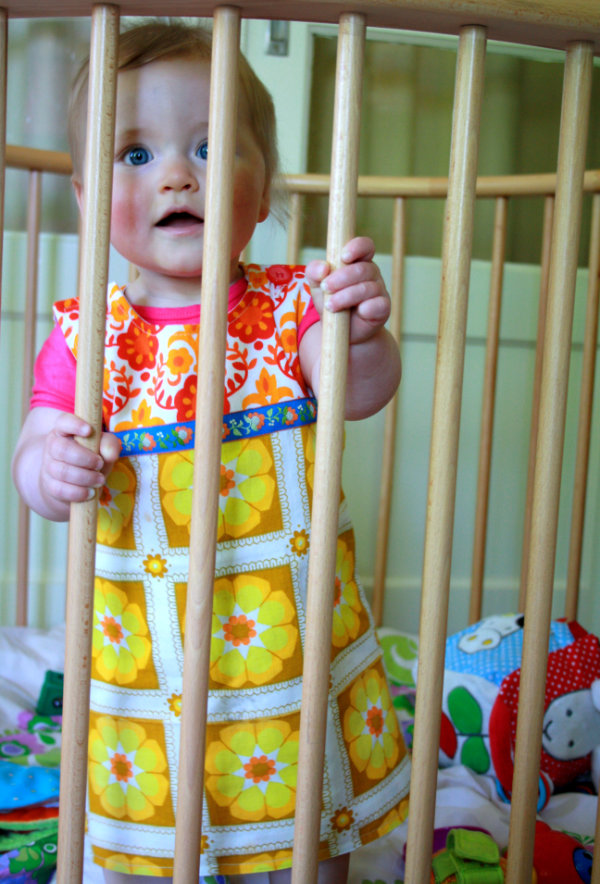
This dubble layered dress closes with two buttons
on the shoulders and two small buttons underneath the armpits. Sizes range from 3 months - 2T.
Materials:
* Cotton fabric
1/2 yard of cotton, 44" wide (
size 3 months - 3T)
1 yard of cotton, 44" wide (
size 4Y - 8Y)
1 1/2 yard of cotton, 44" wide (
Size 9Y - 11Y)
* Plain white cotton fabric (
lining)
1/2 yard of cotton, 44" wide (
size 3 months - 3T)
1 yard of cotton, 44" wide (
size 4Y - 8Y)
1 1/2 yard of cotton, 44" wide (
Size 9Y - 11Y)
* Two buttons -
⌀ 4/5" (
⌀ 2 cm)
* Two buttons -
⌀ 2/5" (
⌀ 1 cm)
* Elastic - 1/5" wide x 6.5" long (0,5 cm x 16 cm)
Instructions:
Download the free sewing pattern from the list below.
Newborn
3 months
6 months
9 months
12 months
18 months
2T
3T
Double-click images to enlarge.
 |
| Step 1: Draw the pattern. |
Draw a front piece (marked red (upper part) and green (lower part)) and back piece (marked yellow (upper part) and green (lower part)) with an aqua trickmarker on the back of the fabric for the lining. Draw a back piece (marked yellow (upper part) and green (lower part)) on the back of the plaid fabric in red & white.
Combine the paper pattern for the front piece (marked red (upper part) and green (lower part)) to one piece using tape. Cut the paper pattern in half vertically 1 cm (0.4 in) underneath the ampits. Draw the upper front piece on the back of the plaid fabric in red & white. Draw the lower front piece on the back of the plaid fabric in blue & white. Add 1 cm (0.4 in) seam allowance to the cutting line.
 |
| Step 2: Cut the fabric. |
Cut the front and back pieces twice out of the fabrics.
 |
| Step 3: Pin upper front piece to lower front piece. |
With right sides facing, pin the upper front piece to the lower front piece. Sew.
 |
| Step 4: Topstitch. |
Topstitch.
 |
| Step 5: Pin the ribbon in place. |
Pin the ribbon in place.
 |
| Step 6: Sew. |
Sew.
 |
| Step 7: Pin front piece to back piece. |
With right sides facing, pin down the front piece to the back piece. Also pin front and back of the lining together.
 |
| Step 8: Sew the sides of both dresses until the pattern marks. |
Sew the sides of both dresses until the pattern marks at 3/8″ (1 cm) seam allowance.
 |
| Step 9: Flip the lining right side out. |
Flip the lining right side out.
 |
| Step 10: Pin neck- and shoulder seams. |
Put the lining of the dress in the outer dress. Pin the neck- and shoulder seams of the lining of the dress and the outside of the dress together with right side facing.
 |
| Step11: Sew neck and shoulder seams at the front. |
Sew neck and shoulder seams at the front from armpit to armpit. Sew at 3/8″ (1 cm) seam allowance.
 |
| Step 12: Sew neck and shoulder seams at the back. |
Turn the dress. Sew the neck and shoulder seams at the back at 3/8″ (1 cm) seam allowance.
 |
| Step 13: Sew elastic. |
Sew at 3/8″ (1 cm) seam allowance.Cut the elastic in half. Fold both elastic pieces in half lengthwise. Put the elastic in place. The elastic loops are placed just underneath the left and right armpit. The elastic loops are 1 1/4" (3 cm) long. Sew a couple of times over the elastic, so it will be attached firmly.
 |
| Step 14: Sew the upper part of the sides of the dress. |
Sew the upper part of the sides of the dress (
just underneath the armpits) at 3/8″ (1 cm) seam allowance.
 |
| Step 15: Trim. |
Trim.
 |
| Step 16: Topstitch. |
Flip the dress right side out. Topstitch at 1/4" (0,5 cm) from the edge.
 |
| Step 17: Hem the dress. |
Hem the dress. Fold 3/4″ (2 cm) and sew at 5/8″ (1,5 cm) from the outer edge.
 |
| Step 18: Stitch the buttonholes at the front. |
Using a ruler, mark where your buttons and buttonholes will go. Stitch the buttonholes at the front.
 |
| Step 19: Sew the buttons at the back. |
Sew the buttons (⌀ 4/5" - ⌀ 2 cm) on properly to make certain that they function well and last for years. Also sew the small buttons (⌀ 2/5" - ⌀ 1 cm ) at the back, just underneath both armpits.
© small dreamfactory
intended for non commercial use only


 Free sewing patterns for girls


No comments:
Post a Comment