


 Free sewing patterns for girls
Materials:
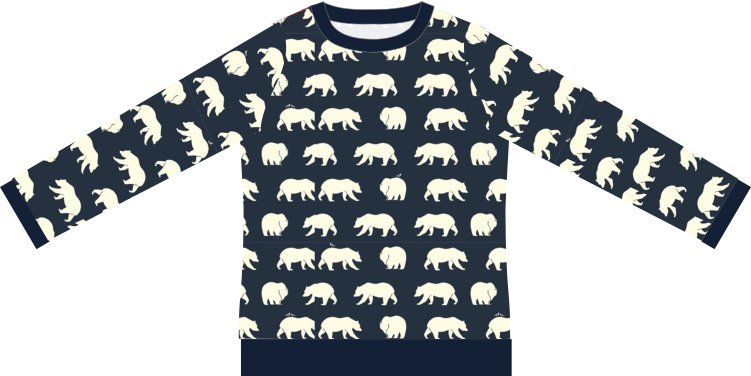
* Interlock Knit Birch fabrics - Bear Camp
50 cm x 150 cm (size newborn - 6Y)
100 cm x 150 cm (size 7Y - 11Y)
150 cm x 150 cm (size 12Y - 15Y)
* Ribbing
* 2 snaps (for sizes newborn through 2T)
Instructions:
Download the free sewing pattern from the list below. Set your printer settings to A4 paper.
(EU size 56) (US newborn)
(EU size 62) (US 3 months)
(EU size 68) (US 6 months)
(EU size 74) (US 9 months)
(EU size 80) (US 12 months)
(EU size 86) (US 18 months)
(EU size 92) (US 2T)
This sweatshirt closes with two snaps at the front for size newborn through 2T to make it easy to put the sweatshirt on.
When working with knits, it is important not to stretch or pull the fabric while sewing. Also use a stretch needle and a stretch stitch. In this pattern all seams are sewed with a twin needle.
Double-click images to enlarge.
 |
| Step 1: Draw the pattern. |
 |
| Step 2: Cut the fabric. |
 |
| Step 3: Fold the left shoulder seams to the inside. |
 |
| Step 4: Sew. |
 |
| Step 5: Sew the shoulder seam. |
For sizes 3Y through 15Y: With right sides facing pin down the back and front piece. Sew the shoulder seams.
| Step 6: Sew ribbing. |
With right sides facing, fold the ribbed sleeve cuffs and waistband widthwise in half. Sew the ends of the strips together to create tubes. Turn the tubes right side out. Fold the tubes in half lengthwise so the wrong sides are together.
For sizes 3Y through 15Y: With right sides facing, fold the ribbed sleeve cuffs, neckband and waistband lenghwise in half. Sew the ends of the strips together to create tubes. Turn the tubes right side out. Fold the tubes in half lengthwise so the wrong sides are together.
 |
| Step 7: Sew neckband |
 |
| Step 8: Turn the neckband right side out. |
 |
| Step 9: Pin the sleeve down. |
 |
| Step 10: Sew the sleeve into the armhole. |
 |
| Step 11: Pin down the sides of the sweatshirt. |
 |
| Step 12: Attach ribbed sleeve cuffs and waistband. |
 |
| Step 13: Fold the cuffs and waistband right side out. |
 |
| Step 14: Attach the snaps to the shirt. |
© small dreamfactory
intended for non commercial use only
No comments:
Post a Comment