This dubble layered dress closes with two buttons
on the shoulders and two small buttons underneath the armpits.
Materials:
* Fabric - Michael Miller, Summer night lights
1/2 yard of cotton, 44" wide (
size 3 months - 3T)
1 yard of cotton, 44" wide (
size 4Y - 8Y)
1 1/2 yard of cotton, 44" wide (
Size 9Y - 11Y)
* Plain white cotton fabric (
lining)
1/2 yard of cotton, 44" wide (
size 3 months - 3T)
1 yard of cotton, 44" wide (
size 4Y - 8Y)
1 1/2 yard of cotton, 44" wide (
Size 9Y - 11Y)
* Two buttons -
⌀ 4/5" (
⌀ 2 cm)
* Two buttons -
⌀ 2/5" (
⌀ 1 cm)
* Elastic - 1/5" wide x 6.5" long (0,5 cm x 16 cm)
Instructions:
Download the free sewing pattern from the list below.
Newborn
3 months
6 months
9 months
12 months
18 months
2T
3T
Double-click images to enlarge.
 |
| Step 1: Draw the pattern. |
Print the sewing pattern in landscape mode in actual size and using the latest version of Adobe Acrobat Reader. Draw the pattern with an aqua trickmarker on the back on both fabrics. The seam allowance is already included in the pattern.
 |
| Step 2: Cut the fabric. |
Cut the front and back pieces twice out of the fabrics.
 |
| Step 3: Pin front piece to back piece. |
With right sides facing, pin down the front piece to the back piece. Also pin front and back of the lining together.
 |
| Step 4: Sew the sides of both dresses until the pattern marks. |
Sew the sides of both dresses until the pattern marks at 3/8″ (1 cm) seam allowance.
 |
| Step 5: Flip the lining right side out. |
Flip the lining right side out.
 |
| Step 6: Pin the neck and shoulder seams. |
Put the lining of the dress in the outer dress. With right sides facing, pin the neck- and shoulder seams of both the lining of the dress and the outside of the dress together.
 |
| Step 7: Sew the neck and shoulder seams at the front. |
Sew the neck and shoulder seams at the front from armpit to armpit at 3/8″ (1 cm) seam allowance.
 |
| Step 8: Sew the neck and shoulder seams at the back. |
Turn the dress. Sew the neck and shoulder seams at the back at 3/8″ (1 cm) seam allowance.
 |
| Step 9: Sew the elastic loops underneath the armpits. |
Cut the elastic in half. Fold both elastic pieces in half lengthwise. Put the elastic in place. The elastic loops are placed just underneath the left and right armpit. The elastic loops are 1 1/4" (3 cm) long. Sew a couple of times over the elastic, so it will be attached firmly.
 |
| Step 10: Sew the upper part of the sides of the dress. |
Sew the upper part of the sides of the dress (
just underneath the armpits) at 3/8″ (1 cm) seam allowance.
 |
| Step 11: Trim. |
Trim the corners.
 |
| Step 12: Topstitch. |
Flip the dress right side out. Topstitch at 1/4" (0,5 cm) from the edge.
 |
| Step 13: Hem the dress. |
Hem the dress. Fold 3/4″ (2 cm) and sew at 5/8″ (1,5 cm) from the outer edge.
 |
| Step 14: Stitch the buttonholes. |
Using a ruler, mark where your buttons and buttonholes will go. Stitch the buttonholes at the front.
 |
| Step 15: Sew the buttons at the back. |
Sew the buttons (⌀ 4/5" - ⌀ 2 cm) on properly to make certain that they function well and last for years. Also sew the small buttons (
⌀ 2/5" -
⌀ 1 cm ) at the back, just underneath both armpits.
© small dreamfactory
intended for non commercial use only


 Free sewing patterns for girls
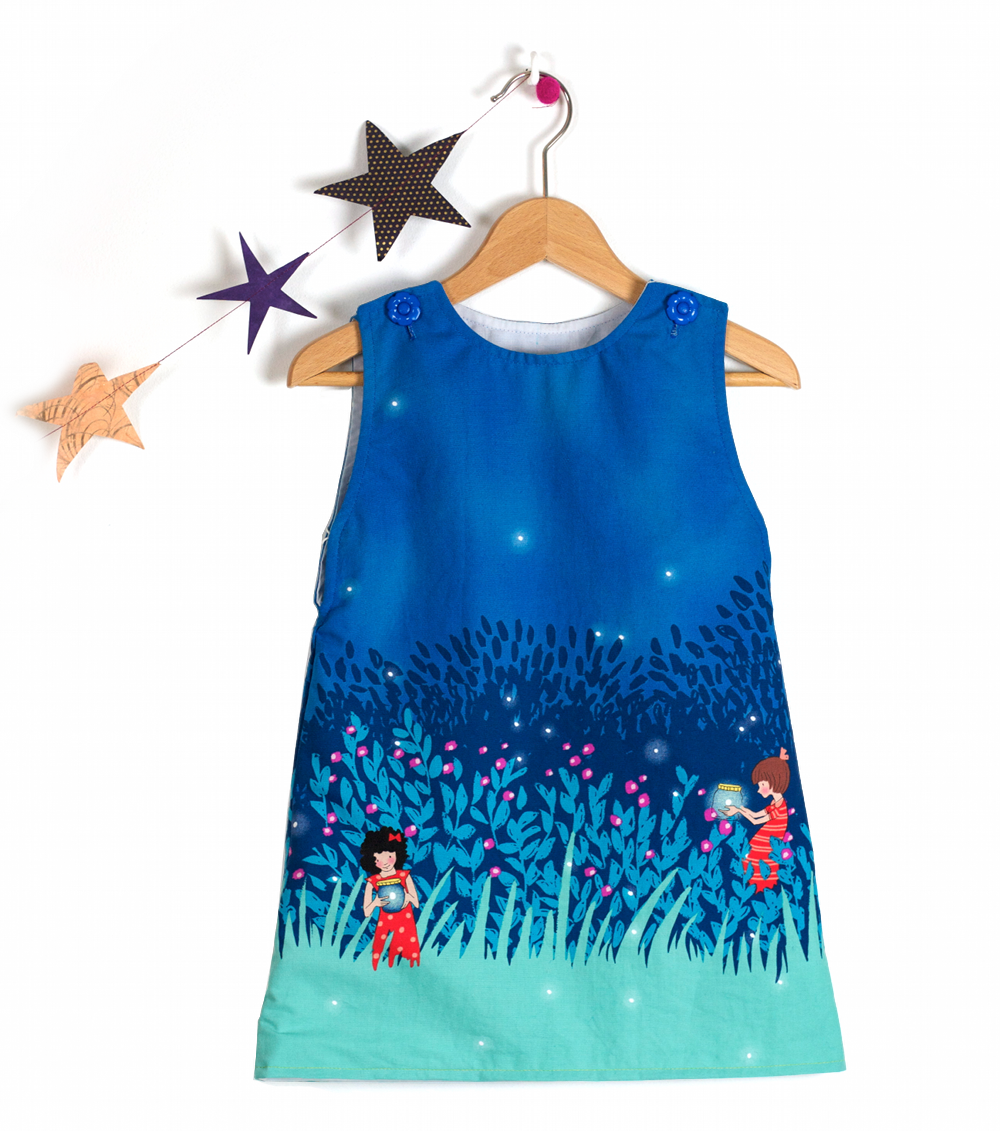


Thank you! I was just on the hunt for a a-line dress pattern and happy to find yours. I appreciate your time! :)
ReplyDeleteThank you so much for this, exactly what I was looking for. Very much appreciated.
ReplyDeleteThanks a bunch, it's exactly what I was looking for!
ReplyDeleteI have a new grandbaby on the way. I don't yet know if it is a girl or a boy but I want to be ready as soon as I find out! Thank you very much for sharing your patterns and for doing such a beautiful job explaining how you did everything!
ReplyDeleteThank you very much for the tutorial and pattern!! You have a great site!! :)
ReplyDeleteThank you this is wonderful ! Exactly what I needed !
ReplyDeletethank you so much...perfect
ReplyDeleteThis is a great pattern. I use it often for my little girl and I recommended it on my blog - http://oqueeutenhofeito.blogspot.pt/2014/02/molde-gratisfree-pattern-dutch-baby.html. Hope you don't mind. ***
ReplyDeletethat's awesome...Thanks for sharing..
ReplyDeletejakarta - indonesia say: thank you for the tutorial...its a simply beautiful-cute-adorable dress....i love it very much...
ReplyDeletethe dresses are perfect....but let's talk fabric. Where do you order such fabulous fabric?
ReplyDeleteLucky finds at the flea market, I'm afraid.
DeleteThank you . This is exactly what was looking for.
DeleteJust what I was looking for! One thosand thanks!
ReplyDeleteMuchas gracias por compartirlo.
ReplyDeleteThank you! This is so cute & I love the variations! Great Job everyone!
ReplyDeleteI tried it for my niece and it came out awesome ! thank you very much
ReplyDeleteThank you, You made my day just the pattern I was looking for, thanks a million.
ReplyDeleteMerci pour le patron
ReplyDeleteHey,
ReplyDeleteI did one yesterday, so lovely, many many thanks!!!!!!!!
http://friendly-hearts.blogspot.de/2015/09/get-in-style-baby-girl.html
LOVE
Gabi
Thank you so much for the patterns and tutorials. Could you please tell me if you think the armholes of this dress would be wide enough for a little one to wear fitted t-shirt/skivvy underneath? Looking for something that will work for cooler days too!
ReplyDeleteMaking dress now. I just don't understand the elastic at arm hole. WHY not just sew side seam up?
ReplyDeleteIt is for a better fit, and this way it's easier to put the dress on and take the dress off. You could also make a larger armhole, if you want to omit the elastic.
DeleteHi! I just love this dress! I've been making it for my daughter for nearly 2 years (from the pattern you called 'Dutch Baby Dress') and it has been great all year round. I use different weight fabrics and team it with tops underneath, and warm tights. I adapted it by adding width to the skirt (about 50%) and gathering that in, so that all her dresses are full pretty ones. I love the way you make your instructions so clear and how the different sizes can be printed right out. You have helped me to make my dream come true by sewing all my daughter's dresses. THANK YOU!
ReplyDeleteHi, thank you so much for sharing! Please clarify. After step 9, the elastic straps are actually visible from the outside of the finished product?
ReplyDeleteyes, the elastic straps are visible from the outside of the finished product.
DeleteI just made one of these dresses, and it's perfect! Thank you so much for your tutorials and patterns, they're so easy to follow and the result is great! :) I also love the fabrics and would buy some in a heartbeat, but unfortunately I can't access the shop.. (I live in Australia, maybe that's why?)
ReplyDeleteI live in NZ and this is a good pattern I think to use calico and paint a picture on the fabric, with fabric paint. Will try and hope for success!
ReplyDeleteI love this dress. I also really liked the one that was in two pieces, with a separate bodice. This was on your site until this year I think, and I used it to make all my daughter's dresses.
ReplyDeleteWould you be able to put this back on your site please? If you still have them and could upload them it would be far easier for me than trying to work out where to cut the bodice and skirt pattern and adding extra lengths for seams at the join.
I would be very happy to buy the printable patterns for the dress of course....Thank you!
I just made this dress for Easter for my new granddaughter that is to arrive anyday now. I put an bunny and flower applique on the front and some eyelet along the hem and it is so cute. Thank you for your pattern and great directions.
ReplyDeleteHow much do I need to increase the arm hole by if I don't want the elastic please? Thanks in advance.
ReplyDeleteJust enlarge the armholes to the point where you attach the elastic.
DeleteThank you! I adapted this pattern for use as a hospital gown for a newborn. I split the back and added a placket so I sewed on velcro to give nurses easy access to electrodes for monitors and IV lines. I also use velcro on the shoulder tabs for the same reasons. I'm glad you've sized them all, it makes it so much easier!
ReplyDelete